Task:
- Create Project
- Create Deployment
Part A: Create Project:
1. Navigate to Projects page to create the new project:
- Web Console (login) --> Developer (perspective) --> Topology (left menu) --> Project: All Projects (dropdown arrow) --> Create Project (button)
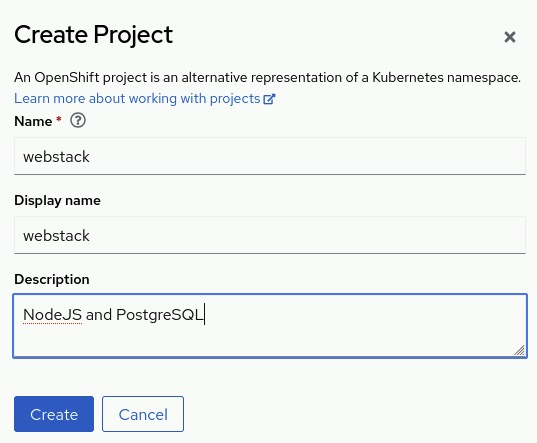
2. In the Create Project dialog:
- Name: webstack
(alphanumeric, with dashes, and lowercase)
- Display Name: webstack
- Description: NodeJS and PostgreSQL
- click Create (button)
3. The namespace/project will automatically switch to the new project (e.g. webstack)
Part B: Create a Database Deployment from Catalog:
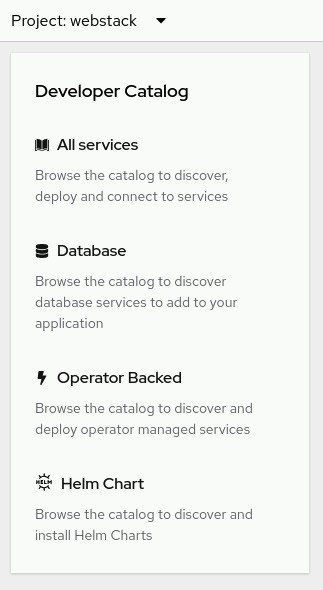
1. Navigate to the catalog:
Notes:
- Each catalog item has information regarding follow-up steps and considerations. For this PostgreSQL option, the page is: github.com/sclorg/postgresql-container/.
- Still in the Developer (perspective) --> +Add (left menu) --> Developer Catalog (heading) --> Databases (top item) --> Under Databases (heading) --> Search box: PostgreSQL
- Select PostgreSQL chicklet
- Read the notes.
- After review the options, Click Instantiate Template (button) back in the Web Console.
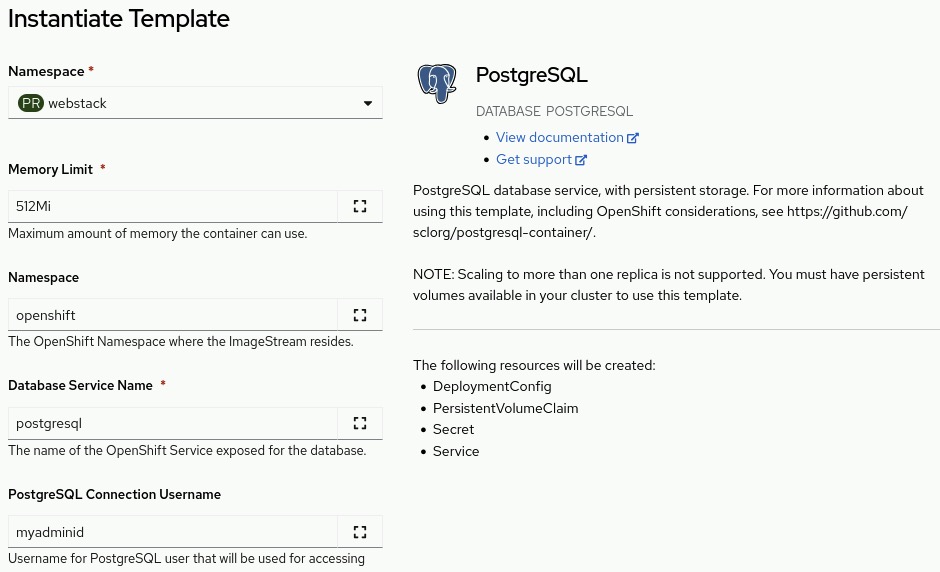
2. In the Instantiate Template dialog:
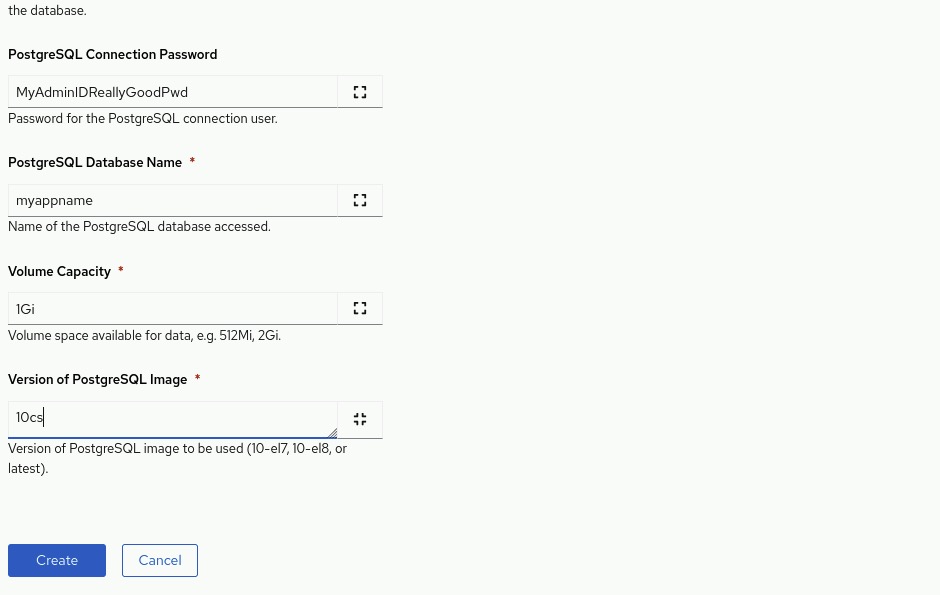
- PostgreSQL Connection Username: <my_app_id>
- PostgreSQL Connection Password: <my_app_id_password>
- PostgreSQL Database Name: <my_db_name>
- Version of PostgreSQL Image: <image_version>
- Click Create (button)
previous page
|