The Lotus Notes install is two parts:
1. Software Installation
2. Setup/Configuration for Notes User
Click the triangle/twistie to view instructions for each section:
 1. Software Installation Instructions:
a. Download the installation programs/files from HCL FlexNet (Passport). HCL calls them "Notes installation kits".
Notes on Installation Files:
So for HCL Notes 12.0.2 FP2 or FP3, we download the main installation file and the FP2 or FP3 fix-pack installation file.
Note: Unlike Interim Fix packs / hot fixes, FPs do not need to be uninstalled between patching (unless going backwards), and you can install the main 12.02 version over say Notes 12.0.1 FP3. In addition, Fix Packs are cummulative, meaning you don't have to walk up the FP numbers. Therefore, in this example we will install FP3 after the main installation of Notes 12.0.2.
MS Windows 64-bit Notes 12.0.2 - Notes_12.0.2_Win_64bit_English.exe
MS Windows 64-bit Notes 12.0.2 FP 2 - Notes_1202FP2_Win64.exe
MS Windows 64-bit Notes 12.0.2 FP 3 - Notes_1202FP3_Win64.exe
For an administrator or developer, the primary HCL Notes, HCL Designer, and HCL Administrator installation file is:
Notes_Designer_Admin_12.0.2_Win_64bit_English.exe
Installation Notes:
We run the main installation first. Then we can run the latest fix pack immediately afterwards.
If moving from 32-bit to 64-bit, perform an uninstall first. The registry needs to be clean. If you are running the Admin/Dev client, the ../Notes/Data/ folder will need to be moved to a new location if using the 32-bit old Program Files(x86) folder. Update the notes.ini paths w/in the file to the new location before running the install. The Notes install will warn you if you have the 32-bit client installed.
b. Shut down Notes if running.
c. Run the main installation file:
(e.g. Notes_12.0.2_Win_64bit_English.exe)
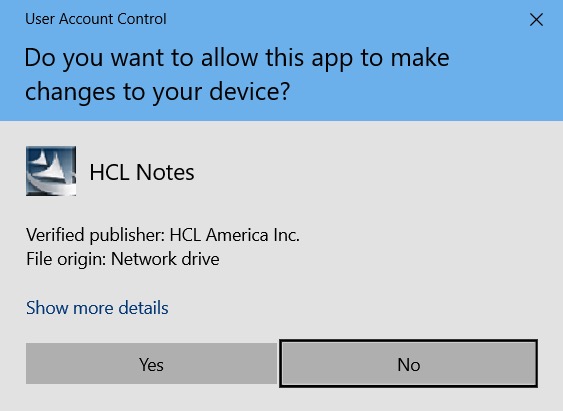
At the User Account Control security dialog, click "Yes". 1. Software Installation Instructions:
1. Software Installation Instructions:
a. Download the installation programs/files from HCL FlexNet (Passport). HCL calls them "Notes installation kits".
Notes on Installation Files:
So for HCL Notes 12.0.2 FP2 or FP3, we download the main installation file and the FP2 or FP3 fix-pack installation file.
Note: Unlike Interim Fix packs / hot fixes, FPs do not need to be uninstalled between patching (unless going backwards), and you can install the main 12.02 version over say Notes 12.0.1 FP3. In addition, Fix Packs are cummulative, meaning you don't have to walk up the FP numbers. Therefore, in this example we will install FP3 after the main installation of Notes 12.0.2.
MS Windows 64-bit Notes 12.0.2 - Notes_12.0.2_Win_64bit_English.exe
MS Windows 64-bit Notes 12.0.2 FP 2 - Notes_1202FP2_Win64.exe
MS Windows 64-bit Notes 12.0.2 FP 3 - Notes_1202FP3_Win64.exe
For an administrator or developer, the primary HCL Notes, HCL Designer, and HCL Administrator installation file is:
Notes_Designer_Admin_12.0.2_Win_64bit_English.exe
Installation Notes:
We run the main installation first. Then we can run the latest fix pack immediately afterwards.
If moving from 32-bit to 64-bit, perform an uninstall first. The registry needs to be clean. If you are running the Admin/Dev client, the ../Notes/Data/ folder will need to be moved to a new location if using the 32-bit old Program Files(x86) folder. Update the notes.ini paths w/in the file to the new location before running the install. The Notes install will warn you if you have the 32-bit client installed.
b. Shut down Notes if running.
c. Run the main installation file:
(e.g. Notes_12.0.2_Win_64bit_English.exe)
At the User Account Control security dialog, click "Yes".
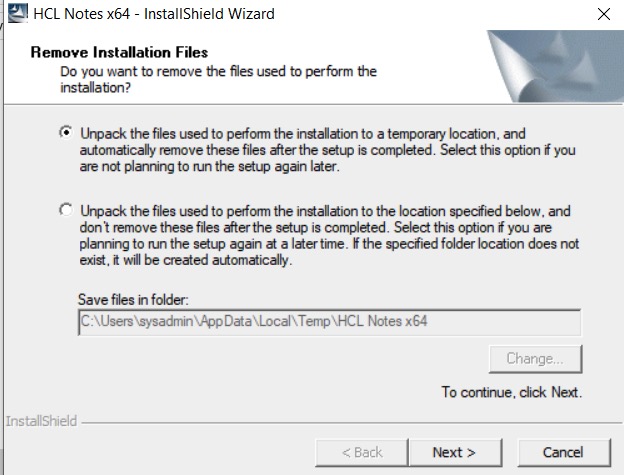
 On the temporary files page, take the default unpack location, and click Next.
 Wait for Notes to extract files.
(Takes less than a minute or three for a slower computer.)
IMPORTANT:
If you get this screen below, you have the 32bit Windows version installed. You have to stop, you must un-install the old version, and then install the new one. You don't have to delete your data folder, too.
Wait for Notes to extract files.
(Takes less than a minute or three for a slower computer.)
IMPORTANT:
If you get this screen below, you have the 32bit Windows version installed. You have to stop, you must un-install the old version, and then install the new one. You don't have to delete your data folder, too.
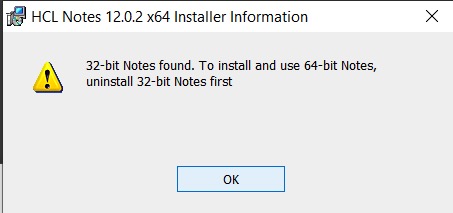 On MS Windows 10 or 11, uninstall the previous 32-bit version of Notes via:
Start --> Search bar --> Type Add or remove programs --> Choose the Gear icon Add or remove programs System settings option.
Under Apps & features on the right, scroll down to HCL Notes Notes 12.0.1 --> Click Uninstall button.
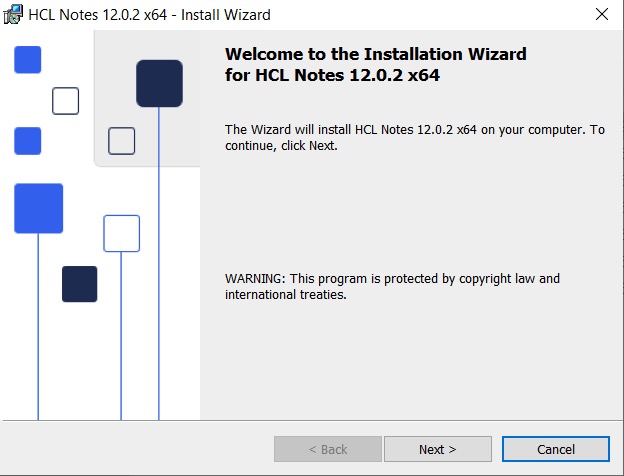
If you did not get the screen above, or you have uninstalled the 32-bit version, and have re-run the install, you will arrive to the screen below.
At the Install Wizard Welcome page, click Next.
On MS Windows 10 or 11, uninstall the previous 32-bit version of Notes via:
Start --> Search bar --> Type Add or remove programs --> Choose the Gear icon Add or remove programs System settings option.
Under Apps & features on the right, scroll down to HCL Notes Notes 12.0.1 --> Click Uninstall button.
If you did not get the screen above, or you have uninstalled the 32-bit version, and have re-run the install, you will arrive to the screen below.
At the Install Wizard Welcome page, click Next.
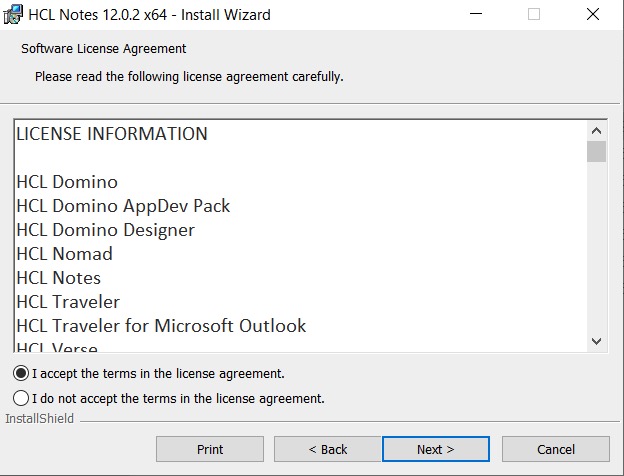
 On the Software License Agreement page, choose the I accept... option. Click Next.
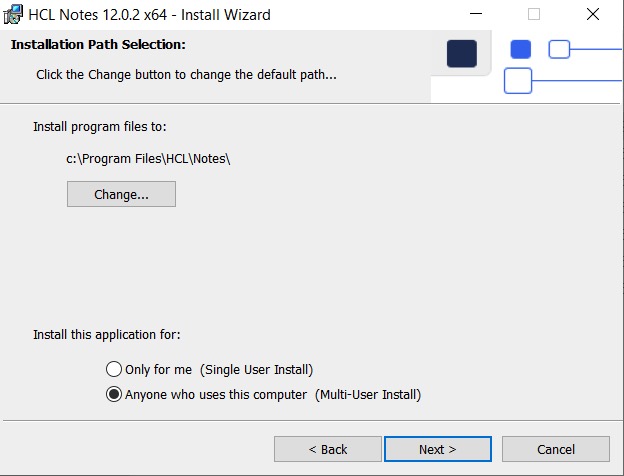
 On the Installation Path page, confirm the Notes program and data paths desired. Click Next.
Notes:
If this is an upgrade, keep the existing path.
Only for me is required if installing the Admin or Designer clients.
The Only Me option installs the user files into a data folder under the Notes main program folder; the Anyone option installs the user (data) files into the user folder for each user of the computer (e.g. c:\users\janedoe).
On the Installation Path page, confirm the Notes program and data paths desired. Click Next.
Notes:
If this is an upgrade, keep the existing path.
Only for me is required if installing the Admin or Designer clients.
The Only Me option installs the user files into a data folder under the Notes main program folder; the Anyone option installs the user (data) files into the user folder for each user of the computer (e.g. c:\users\janedoe).
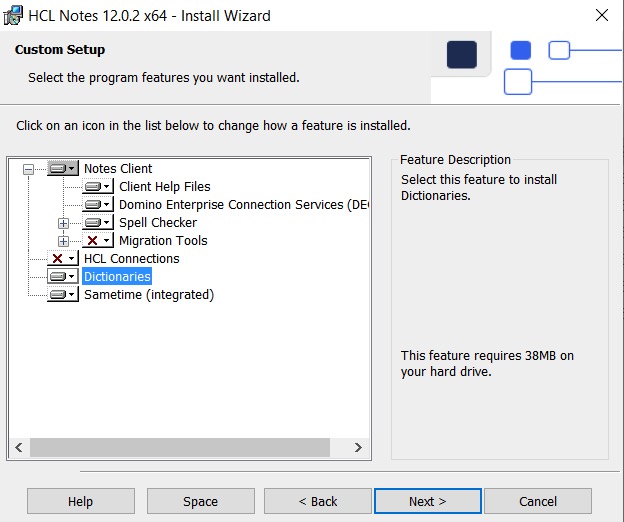
On the Custom Setup page, take the defaults (unless you know why not to do so), and click Next.
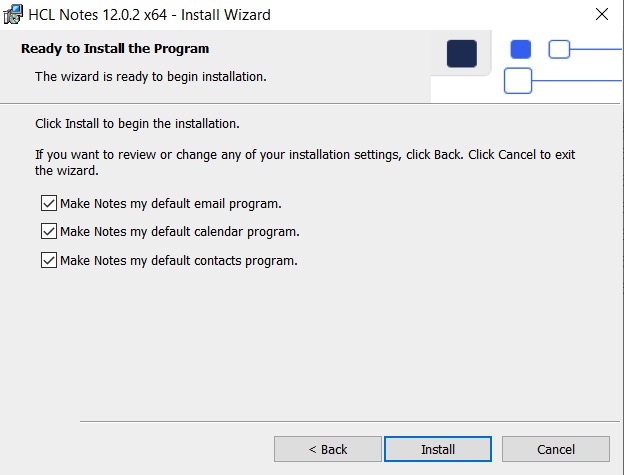
On the Ready to Install page, keep all the default selections, and click Install.
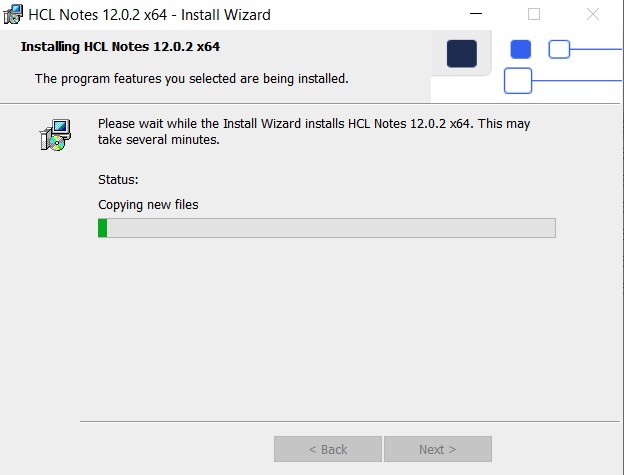
Wait for the install to finish.
Click Finish, when it is done.
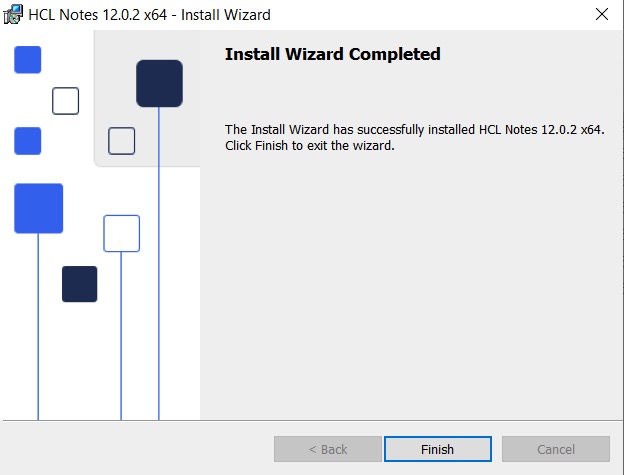
This concludes the installation of the Notes 12.0.2 client. We need to install the latest FP.
d. Run/install the latest fix-pack.
BTW: If you launch it from a remote drive, it will copy the install to the local workstation desktop.
(e.g. Notes_1202FP3_Win64.exe)
On the temporary files page, take the default unpack location, and click Next.
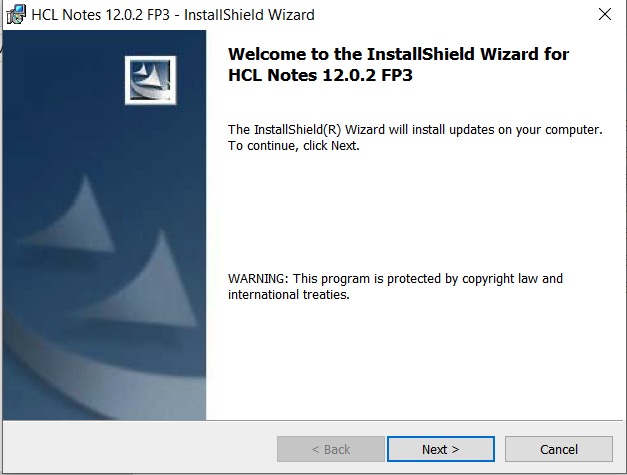
 At the Install Wizard Welcome page, click Next.
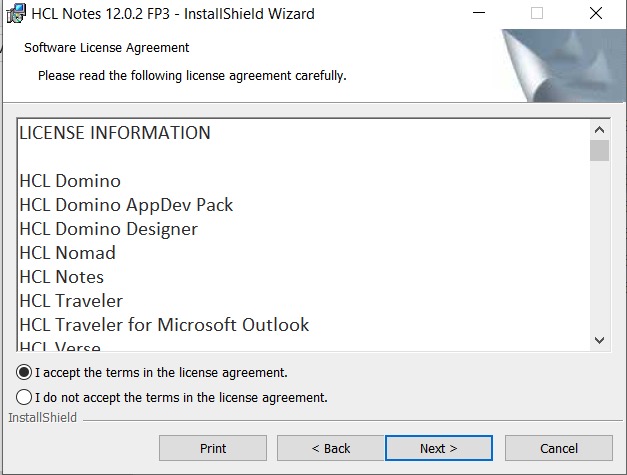
 On the Software License Agreement page, choose the I accept... option. Click Next.
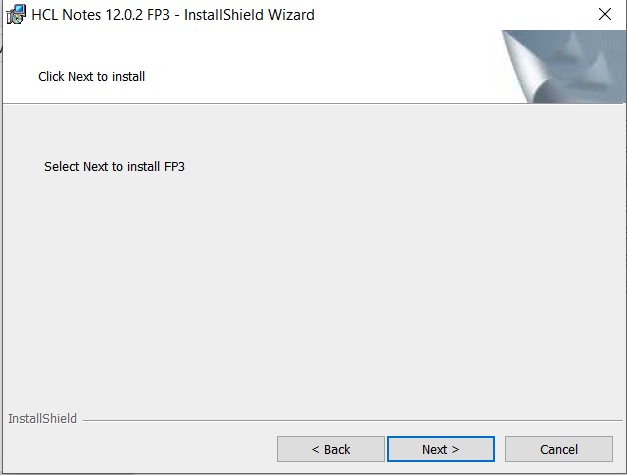
On the "FP3" page, click Next.
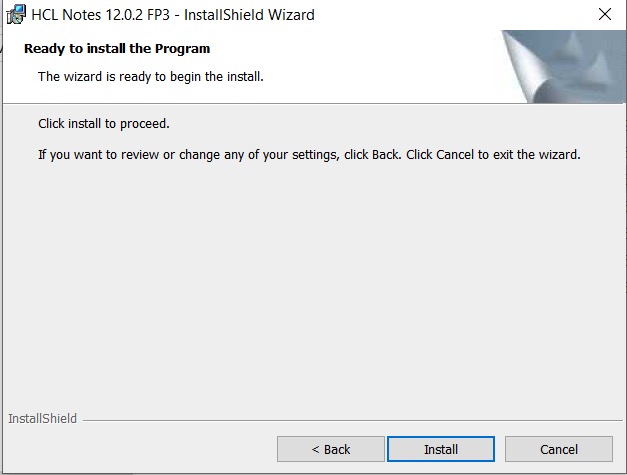
On the Ready to Install page, click Install.
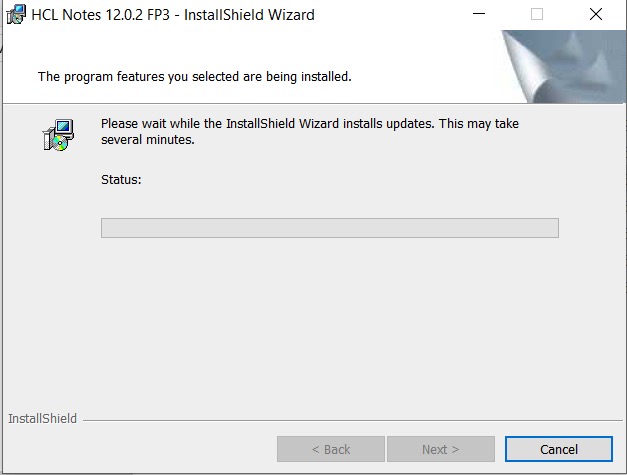
Wait for the install to finish.
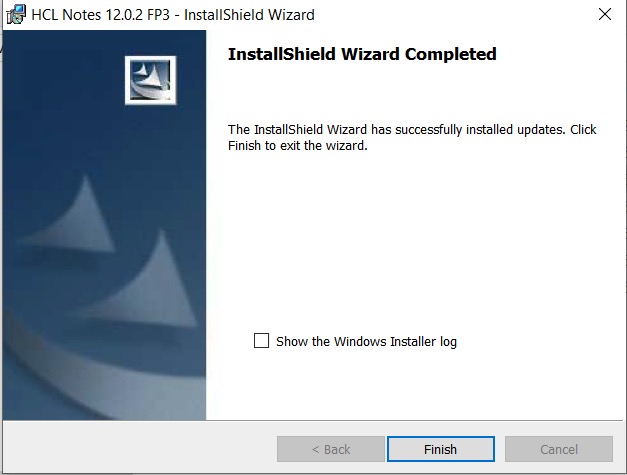
Click Finish, when it is done.
2. Configuration of Notes
2. Configuration / Set Up of Notes
1. Start Notes using the icon within the Program group Lotus or the Lotus icon on the desktop.
2. User Name and Domino Server Name
A dialog box/wizard should have appeared. The dialog box is asking your for your Lotus Notes name and the Domino server's Notes name.
e.g:
Name: Jane Doe/Mindwatering
Domino Server: ServerName/Mindwatering
Click Next.
3. Connection to Domino server:
The next screen asks, "How do you want to connect to Domino server?"
a. Choose the "Local Area Network" option rather than the phone/modem connection.
Note: This is different than a dialup to an ISP. A Domino server can be setup to allow a user to call directly to it. This was popular back before broadband connections to the Internet. Mindwatering does not offer this service anymore.
b. Select your connection port type to be TCP/IP. (You do not use the other protocols to connect to the server.)
c. Enter the Domino server's DNS name.
e.g.
Connection: Local Area Network
Port: TCP/IP
DNS Hostname: servername.mindwatering.com
Click Next.
4. The server will then be contacted and retrieve you ID or ask you for a supplied ID on disk.
Once Notes has your ID you will be presented for you password. Enter it -- it is case sensitive.
5. As desired, skip any configuration other services such as Sametime Instant Messaging and HCL Connections. Click Finish.
Once you have completed the wizard. It will pause while the installation ...
- creates or upgrades your local Contacts (address book), bookmarks, and desktop. and
- configures your local machine for the settings you entered.
Once it is done, it will notify you setup is complete and have you log into Notes.
Contact Mindwatering Support if you have questions.
Appendix A - Domino Designer and Domino Administrator:
Installation Example for Single User Install Using the Notes 12.0.2 and Domino Designer / Administrator Installation:
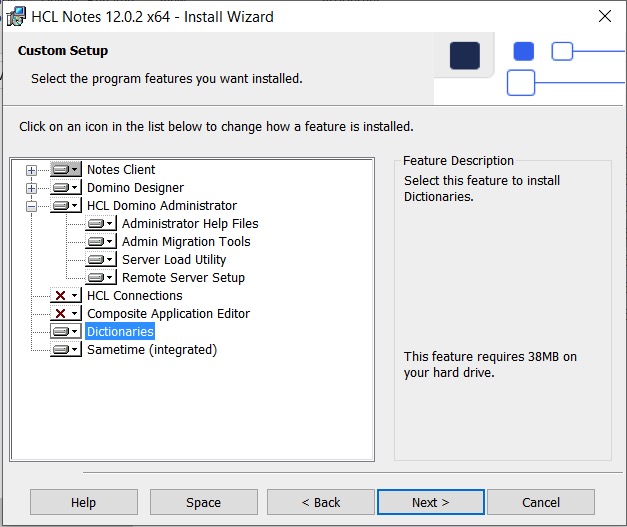
On the Custom Setup screen, customize the install for the features desired. Please note that the Notes Client option is always installed.
In the screen grab below, we have selected the Domino Designer feature/application, and the Domino Administrator feature/application. For the Domino Administrator application, we also selected the additional/optional Remote Server Setup feature to be installed, as well.
After making selections, click Next.
Appendix B - ODS Upgrade
Notes R 12 has an ODS upgrade. To use new features, it must be updated.
Add the following:
- Create_R12_Databases=1
Enables new app replicas or new apps created locally to have the R12 ODS
- NSF_Enable_Large_ACL=1
Enables the additional ACL entries beyond the old limit
- NSF_UpdateODS=1
Enables the Notes client to upgrade ODS on Notes client restarts.
Note:
Supposedly, after Notes 12.0.2, upgrading a client upgrades ODS regardless of Notes client notes.ini settings. We have seen this not work. So we use the NSF_UpdateODS=1 anyway even in Notes 14.x.
Are you upgrading from Pre-R10?
If you are upgrading from a pre-Notes 10 client, at least a couple other things need to be done:
- If you have large summary metadata in your data notes, use the compact -ls or -LargeSummary command to increase the limit:
- server: load ncompact -LargeSummary on appname.nsf
- client: ncompact -LargeSummary on appname.nsf
- If you have your local apps full-text-indexed, they will likely need to be rebuilt. Perform by:
- Remove the existing FT indexes via:
Notes client UI --> select App --> File --> Application --> Properties (Application props) --> i (Full-text index tab) --> Delete
- Add back via:
Notes client UI --> select App --> File --> Application --> Properties (Application props) --> i (Full-text index tab) --> Create
(Important: Choose the option to index attachments with filters. It is not the default.)
previous page
|